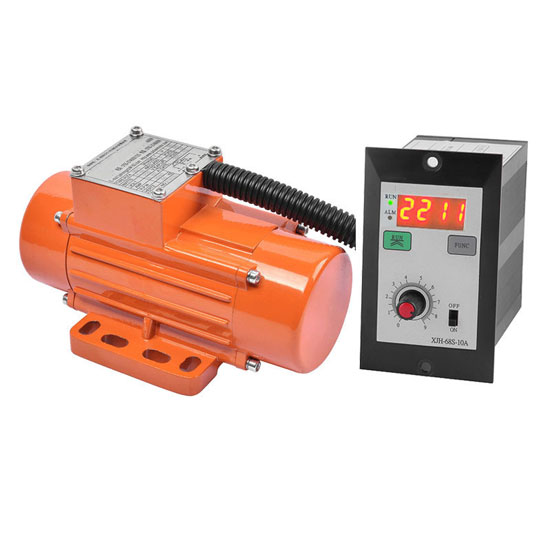
Since most parts of the vibration motor are transported separately after purchase, it involves the installation of the equipment, but many users do not understand the installation steps of the vibration motor, so today the editor of the vibration motor manufacturer will come to you. Explain in detail.
1. After the vibration motor equipment is transported to the site of use, it is necessary to check the integrity of the packaging, whether it is damp, whether there is damage, etc., and also conduct an unpacking inspection to avoid damage or missing parts.

2. Install the vibration motor firmly and reliably on the vibration equipment, then remove the protective covers at both ends and loosen the compression bolts of the adjustable eccentric blocks at both ends.
3. Synchronously adjust the glue between the adjustable eccentric block at both ends of the vibration motor and the fixed eccentric block to ensure that the excitation force scale line of the motor is aligned with the reference line of the equipment axis.
4. Tighten the compression bolt of the eccentric block of the vibration motor, and then install the protective cover.
5. Manually check the power supply of the vibration motor to see if there is a phase loss, open circuit, etc. If there is, it needs to be dealt with in time.
6. Use a 500-volt megger to measure the insulation resistance to ensure that the resistance value is not less than 0.5 megohm, otherwise the stator winding of the vibration motor needs to be dried, and the drying temperature cannot exceed 125 degrees.
7. After letting the vibration motor run for 10-20 minutes, check whether the bolts of the motor are tightened. If not, tighten the bolts again.
