Requirements of the installation site.
The connection part, to which the vibration motor is attached, must be: free from paint, corrosion, grease and oil, machined flat
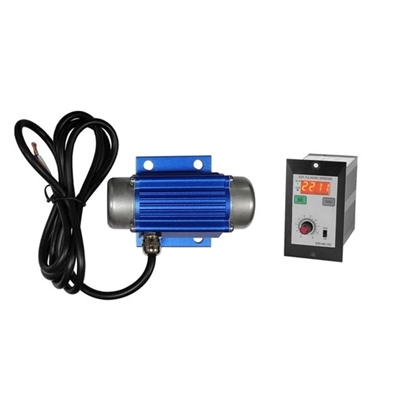
Install the vibration motor as follows:
To install the vibration motors, a level vibration-resistant drive seat is required. In order to obtain a correct contact surface, this base must be machined.
As standard, the vibration motors are attached using hexagon-headed bolts, DIN 931-8.8 or DIN 933-8.8 and self-locking hexagon nuts, in accordance with DIN 982-8 or DIN 985-8.No lock washers, scour washers or similar must be used. If washers are used, then only use high-strength washers, e.g.HV washers, in accordance with DIN6916.
In order to attain a permanent pretension, the attachment screws require a certain minimum grip length. The minimum grip length should be 3 times the nominal diameter. The grip length is the distance between the underside of the bolt head and the nut.
The required bolt protrusion is calculated according to DIN 13.
Bolt protrusion v= Height of nut + 3 x thread pitch P.
As applicable, before installation, remove the transportation safety devices or, if the fly weights were removed, install the flyweights and protective covers.
Install in the following sequence:
Use the integrally cast eyebolts to align the vibration motor.
Use the specified number and size of bolts to attach the vibration motor, in accordance with the leaflet or motor datasheet.
Put the vibration motor in position and loosely tighten the bolts.
Use a torque wrench and tighten the bolts to the following torque, after 15 to 20 minutes after starting, switch off the motor and, using a torque wrench, retighten all of the motor attachment bolts. Repeat this procedure after 2 to 3 hours and after one day.
We recommend checking the attachment bolts every 8 weeks.
Attention: If inappropriate bolts and nuts are used, the vibration motor can become loose and cause serious damage.
Attention: Please note that most of the malfunctions and failures are caused by incorrect or loose connections.